

It has been three weeks since the last installment of my 2-3 post a week blog. As I noted in an earlier post. I am committing to myself to spend at least an hour per day learning new things and writing them up in this blog. I decided that I wanted to complete the “Ray Tracing in One Weekend” book for this post. The previous post can be found here. I underestimated the new Rust concepts and conventions that would be required to do this and how long it would take to write up my experience. So now these weeks later, I am finally finished.
I have also made a decision to move on from Rust for a while and pursue some other interests in up coming posting. I have found myself really loving Rust. I really appreciate all of the compile time checks that can prevent problems later. There were only a couple of times that I got a good compile, that I did not get the result I was expecting when I ran the program.
This exercise really forced me to understand Ownership and borrowing more thoroughly then.
Chapter 3 & 4 – Splitting code into modules
My first objective in starting the rest of the chapters of the book was to figure out how to structure a project with multiple files and modules.
The first thing that I did was start creating a separate file to split different functionality. That turned out being fair straight forward. It was just forward declaring a module with the same name as the file from the the main.rs file.
pub mod raytrace;Then I wanted to split things even more and create a tree structure of directories. So now I created a raytrace sub-directory, but I not sure what to do next, because if I tried to do the mod statement above, then all of my modules were not found. Below is the file structure that I had.
src/main.rs
src/raytrace
src/raytrace/ray.rs
src/raytrace/material.rs
src/raytrace/vec.rs
src/raytrace/camera.rs
Then I searched and found this page about splitting. So I saw that I needed a file mod.rs that would act like raytrace.rs did in my first step. Then in that file I could bring in the other nested modules as below.
pub mod camera;
pub mod material;
pub mod ray;
pub mod vec;
Chapter 5 – Traits, Collections and Polymorphism
Traits
This chapter introduced the very common object orient concept of inheritance and polymorphism.
class hitable {
    public:
        virtual bool hit(const ray& r, float t_min, float t_max, hit_record& rec) const = 0;
};

class sphere: public hitable  {
    public:
        sphere() {}
        sphere(vec3 cen, float r, material *m) : center(cen), radius(r), mat_ptr(m)  {};
        virtual bool hit(const ray& r, float tmin, float tmax, hit_record& rec) const;
        vec3 center;
        float radius;
};

class hitable_list: public hitable  {
    public:
        hitable_list() {}
        hitable_list(hitable **l, int n) {list = l; list_size = n; }
        virtual bool hit(const ray& r, float tmin, float tmax, hit_record& rec) const;
        hitable **list;
        int list_size;
};
So now I needed to create my first trait. Here I decided to do a direct port of the C++ code, and used an out parameter (&mut HitRecord) to return the results. I decision causes me many headaches later, as discussed below.
pub trait Hitable {
    fn hit(&self, r : ray::Ray, t_min : f32, t_max : f32, rec : &mut HitRecord) -> bool;
}
Polymorphism
The following code, does not work and that would seem obvious, but how do I have a polymorphic pointer or reference.
    let a : Hitable = Sphere::new(...);
    let b : Hitable = HitableList::new(...);
So I thought about this, but how is ownership going to work here. This still did not feel right.
    let a : &Hitable = &Sphere::new(...);
    let b : &Hitable = &HitableList::new(...);
Then I found out about Box. This seems to mostly parallel the idea of a pure pointer in C++ and the memory is allocated in the heap, so that seemed to be what I needed.
Collections
With this knowledge, I can now create the my list. I decided to use Vec as my underlying collection. This left me with the following for HitableList.
pub struct HitableList {
    list : Vec<Box<Hitable>>,
}
Chapter 6 – drand48() – Crates
In this chapter, the author started using a random number generator. I need to figure out how to do this in Rust. Searching the Internet I found the solution, but the common solution was to use a 3rd party crate to provide this functionality, so I got the experience the process of adding a new dependency.
Adding dependency to the Cargo.toml file
[dependencies]
rand = "0.6"
Using the external library in the code.
extern crate rand;
use rand::Rng;

pub fn drand48() -> f32 {
    let rand_float : f32 = rand::thread_rng().gen();
    rand_float
}
Pretty straight forward and similar to maven and gradle in the Java world, but not quite as trivial as being able to search add using the npm command in the NodeJS/Javascript world.
Chapter 7 – Nothing new related to Rust
This chapter was fairly uneventful regarding learning new Rust concepts.
Chapter 8 – HitRecord and Material
This chapter is where I hit a wall, and learning Rust got real! This book uses the common C/C++ idea of passing an out parameter of a reference and then using that to get the output of the function. Starting back in chapter 5, I was doing a direct port of this in Rust and it was working, until I now. When a pointer to material was added to the hit record.
Until now, I was adding the copy functionality to all of my structs, included Vec3, Ray, and HitRecord. Like below.
#[derive(Copy, Clone, Debug)]
pub struct HitRecord {
    pub t : f32,
    pub p : vec::Vec3,
    pub normal : vec::Vec3,
}
However with the following change in the C++ code, this became a problem, because now that the polymorphic Box was added I could no longer have this since Box forbids you from deriving Copy.
struct hit_record
{
    float t;
    vec3 p;
    vec3 normal;
    material *mat_ptr
};
Now I have the following struct, but I no long get the relative ease/laziness of not having to worry about ownership and moving out of contexts.
pub struct HitRecord {
    pub t : f32,
    pub p : vec::Vec3,
    pub normal : vec::Vec3,
    pub material : Box<Material>,
}
Ownership and Borrowing
One of the key concepts of Rust is the idea of ownership of memory. Rust tries to solve some of the core issues with languages like C++ where memory leaks and corruption can happen fairly easily with out using a Garbage collection mechanism. There are way to do reference counting in Rust, but by default you should be able to determine at compile time if ownership is being honored correctly.
Moving vs Copying
Previously with the Vec3, Ray, and HitRecord classes, I did not have to worry about this much since they could be copied. Now if I did not pass by reference, I was doing a move.
Out References
Previously I mentioned that I decided to do a direct port of the C++ code in regards to an out parameter. Here I decided that a better approach would be to just return the struct that I created in the function and let Rust’s move logic deal with the passing of the ownership of the struct out of the method.
Option returns to handle nulls
So now that my hit function returns/moves the struct out of the function, what happens when I need to return a null pointer. This is where the Option enum comes into play.
Final implementations using Option
impl Hitable for Sphere {
    fn hit(&self, r : ray::Ray, t_min : f32, t_max : f32) -> Option<HitRecord> {
        let oc = r.origin() - self.center;
        let a = vec::dot(r.direction(), r.direction());
        let b = vec::dot(oc, r.direction());
        let c = vec::dot(oc, oc) - self.radius*self.radius;
        let discriminant = b*b - a*c;
        if discriminant > 0.0 {
            let temp = (-b - f32::sqrt(b*b-a*c))/a;
            if temp < t_max && temp > t_min {
                let t = temp;
                let p = r.point_at_parameter(t);
                let normal = (p - self.center) / self.radius;
                return Some(HitRecord{t, p, normal, material: self.material.clone()});
            }
            let temp = (-b + f32::sqrt(b*b-a*c))/a;
            if temp < t_max && temp > t_min {
                let t = temp;
                let p = r.point_at_parameter(t);
                let normal = (p - self.center) / self.radius;
                return Some(HitRecord{t, p, normal, material: self.material.clone()});
            }
        }
        None
    }
}
impl Hitable for HitableList {
    fn hit(&self, r: ray::Ray, t_min: f32, t_max: f32) -> Option<HitRecord> {
        let mut result : Option<HitRecord> = None;
        let mut closest_so_far = t_max;

        for a in &self.list {
            let temp_result = a.hit(r, t_min, closest_so_far);
            match temp_result {
                Some(rec) => {
                    closest_so_far = rec.t;
                    result = Some(rec);
                }
                None => {}
            }
        }
        result
    }
}
Chapter 9-12 – Again, not much new related to Rust
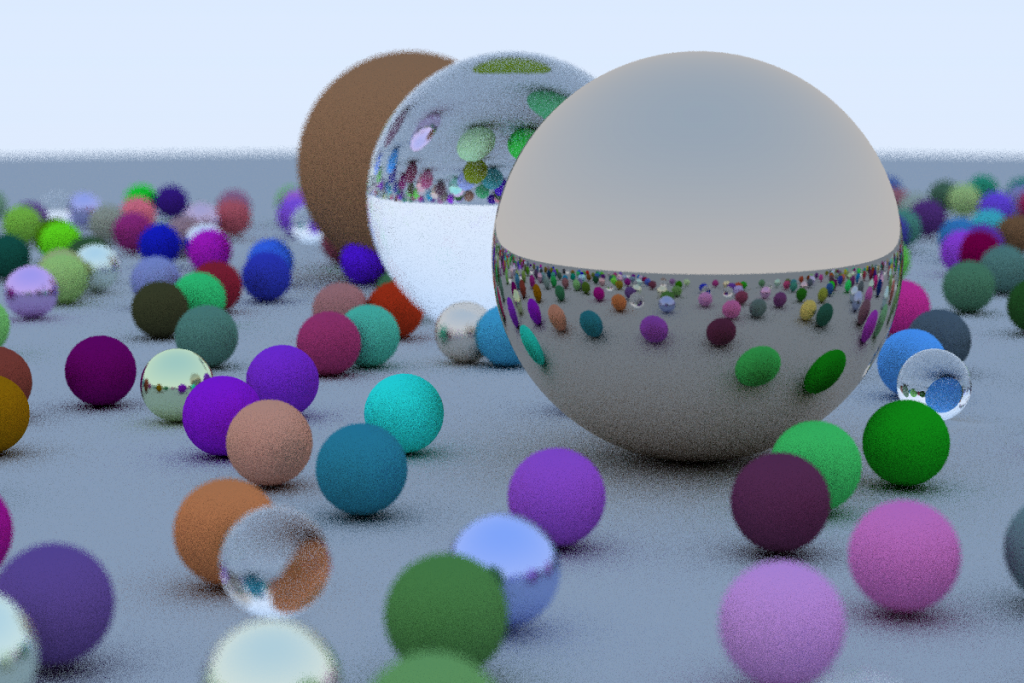
Once I got through chapter 8 and all of the hurdles there, the rest of the book was pretty straight forward as far as the coding was concerned. The last chapter had an exercise to generate the images from the cover of the book. Here is my image.
Concluding
The full code for this can be found here. Like I noted in the start of this post. This will likely be my last post on Rust for a while. I plan to branch off into some other technologies. I hope someone has found this useful, because it has been very valuable for me in forcing me to document what I have been learning. Thank you for taking time to read and follow me on twitter @rushtonality for future updates and anything else I my find interesting.